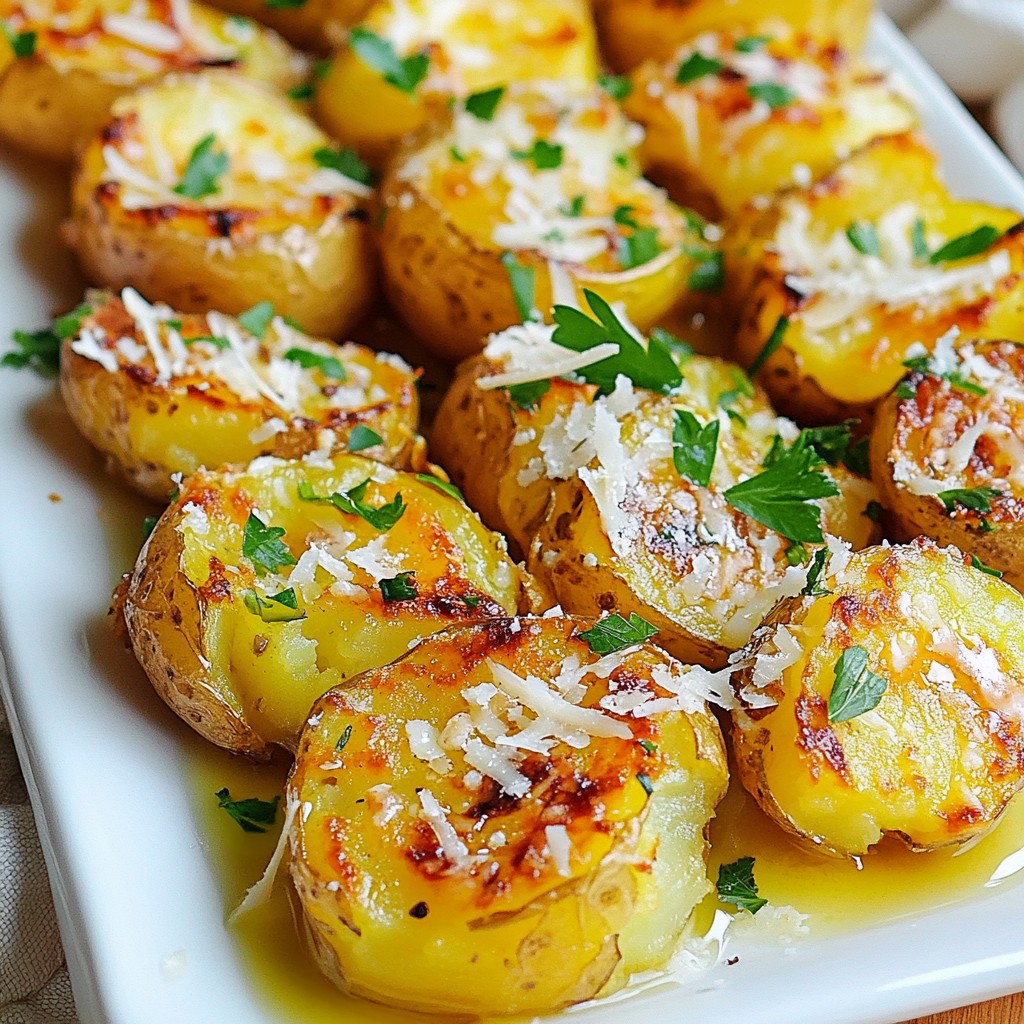
Looking for a quick and tasty dish that will impress? Pan-Fried Cabbage Noodle Buns are the answer! These flavorful treats combine simple ingredients and easy steps for a delightfully crunchy experience. You can customize them to your taste and dietary needs. Whether you’re new to cooking or a pro, I’ll guide you through every step. Let’s dive in and whip up a dish that you and your friends will love!
Why I Love This Recipe
- Healthier Alternative: These cabbage noodle buns are a lighter option compared to traditional buns, packed with vegetables and flavor.
- Customizable Filling: You can easily modify the filling ingredients based on your preferences, making it a versatile dish.
- Quick Preparation: This recipe can be prepared in about 30 minutes, perfect for a quick and satisfying meal.
- Deliciously Crispy: The pan-frying method gives these buns a delightful crispy texture that complements the tender cabbage leaves.
Ingredients
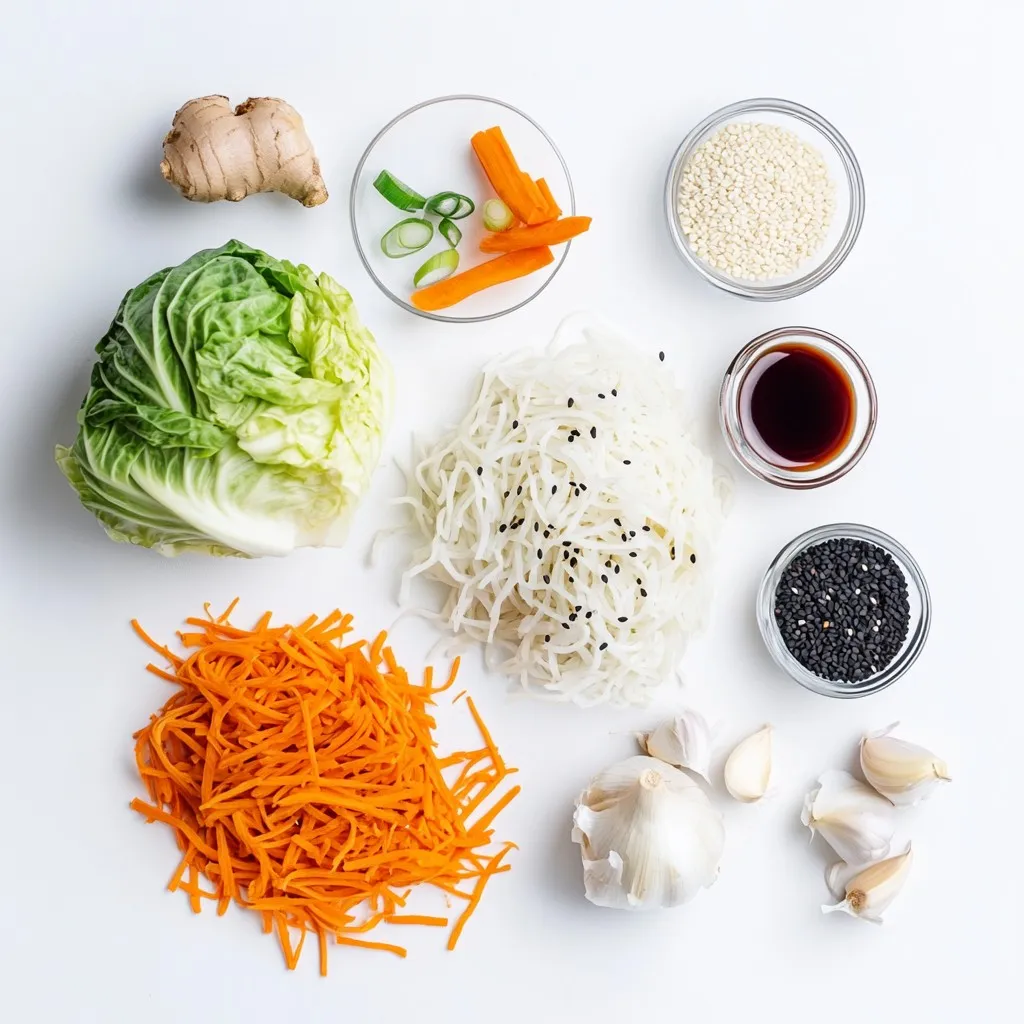
List of Required Ingredients
– 1 small head of green cabbage
– 2 cups of cooked and cooled noodles (e.g., rice noodles or soba)
– 1 cup of grated carrots
– 1/2 cup of green onions, chopped
– 1/2 cup of minced mushrooms (shiitake or button)
– 1 tablespoon soy sauce (or tamari for gluten-free)
– 1 teaspoon sesame oil
– 1 tablespoon ginger, minced
– 1 clove garlic, minced
– Salt and pepper to taste
– 2 tablespoons vegetable oil (for frying)
Optional Ingredients for Garnish
– Sesame seeds
Measurements and Substitutions
You can easily swap ingredients. For noodles, use your favorite type. Rice noodles work well, but soba adds a nice flavor. For mushrooms, shiitake is best, but button mushrooms are great too. If you want a gluten-free option, use tamari instead of soy sauce. You can add more herbs or spices to the mix for flavor. Adjust the salt and pepper to your taste. Feel free to use any oil you like for frying, but vegetable oil gives the best results.
Step-by-Step Instructions
Preparation of Cabbage Leaves
To start, bring a large pot of salted water to a boil. Make sure it’s bubbling well. Carefully add the whole head of cabbage. Blanch it for 2-3 minutes. You want the leaves soft but still firm. After that, move the cabbage to a bowl of ice water. This stops the cooking. Once it cools, gently peel off the leaves. Set them aside for later.
Making the Filling
Next, grab a mixing bowl. In this bowl, combine the cooked noodles, grated carrots, chopped green onions, and minced mushrooms. Add the soy sauce and sesame oil for flavor. Don’t forget the minced ginger and garlic. Season with salt and pepper to your taste. Mix it well. This filling is what makes the buns delicious.
Assembling the Buns
Now, it’s time to assemble your buns. Take one cabbage leaf and place a spoonful of the noodle mixture in the center. Fold the sides over the filling first. Then, roll it up from the bottom to make a bun shape. Repeat this step until you use all the filling. It’s fun to see your buns take shape!
Cooking the Buns
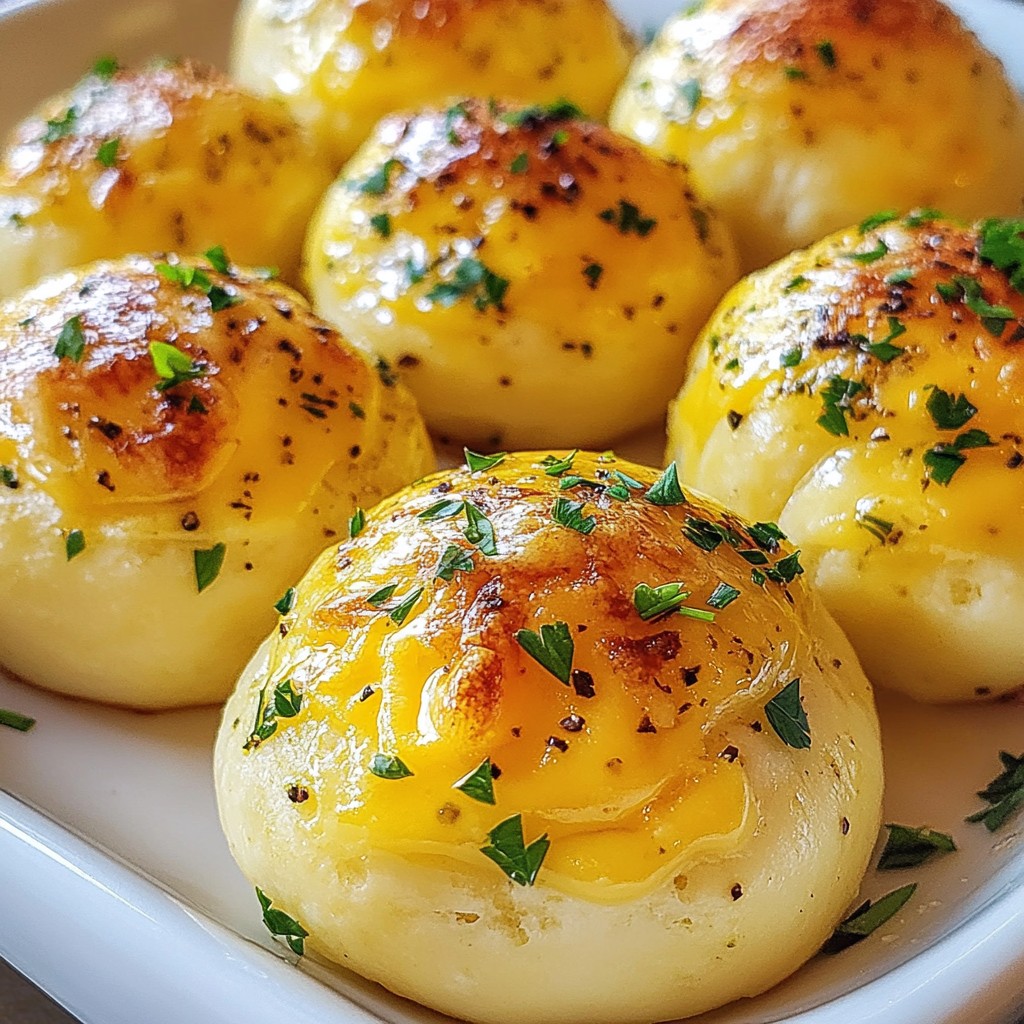
For cooking, heat vegetable oil in a skillet over medium heat. Place the cabbage buns seam-side down in the skillet. Fry them for about 5 minutes until they turn golden brown. Carefully flip the buns over. Fry the other side for another 4-5 minutes. They should be crispy and ready to serve. Once they’re done, place them on a paper towel to absorb excess oil. Enjoy the smell!
Tips & Tricks
Achieving Perfectly Crispy Buns
To get those buns nice and crispy, use a large skillet. The more space, the better they cook. Use enough oil to cover the bottom of the pan. This helps them fry evenly. Heat the oil to medium heat before adding the buns. If it’s too hot, they might burn. If it’s too cool, they will not crisp up. Fry them for about 5 minutes on each side, or until golden brown.
Flavor Enhancements and Seasoning Tips
You can boost the flavor of your buns in simple ways. Adding a bit of chili flakes can give them a nice kick. Consider adding herbs like cilantro or basil to the filling for freshness. You can also mix in some sesame seeds into the noodle filling for extra crunch. Adjust the salt and pepper to your taste. If you like umami, add more soy sauce. Remember, taste as you go!
Cooking Equipment Recommendations
A good non-stick skillet is your best friend for this recipe. It prevents the buns from sticking and makes flipping easy. A spatula with a flat edge helps lift the buns without breaking them. Also, having a large pot for boiling the cabbage is key. An ice bath is important too, to stop the cooking and keep the leaves firm. If you have a bamboo steamer, you can use it to warm the buns instead of frying.
Pro Tips
- Choosing the Right Cabbage: Use a small head of green cabbage for a more tender texture. Napa cabbage is also a great alternative due to its softer leaves.
- Cooling the Noodles: Make sure the noodles are fully cooled before mixing them into the filling. This prevents the cabbage leaves from wilting during assembly.
- Perfect Frying: Ensure the oil is hot enough before adding the buns. A drop of water should sizzle when it hits the oil—this creates a crispy exterior.
- Flavor Variations: Feel free to add different vegetables or proteins to the filling, such as bell peppers, tofu, or cooked chicken, to customize your buns.
Variations
Vegetarian and Vegan Options
You can easily make this dish vegetarian or vegan. Start with the filling. Use only plant-based noodles like rice noodles. For protein, add tofu or tempeh. You can also try using chickpeas for extra texture. Replace soy sauce with a vegan option like coconut aminos. This keeps the dish flavorful without any animal products.
Gluten-Free Adjustments
To make these buns gluten-free, swap regular noodles for gluten-free ones like rice noodles or quinoa noodles. Use tamari instead of soy sauce. It has a similar taste but is free from gluten. Make sure any additional sauces you use are also gluten-free. This way, you can enjoy these buns without worry.
Flavor Profile Variations
The flavor of your buns can change with a few tweaks. Add herbs like cilantro or basil for a fresh taste. You can mix in different vegetables too, like bell peppers or zucchini. For a spicy kick, add chili flakes or sriracha to the filling. Experimenting with flavors can make each batch unique and exciting!
Storage Info
Best Practices for Storing Leftovers
To store leftover Pan-Fried Cabbage Noodle Buns, first let them cool. Place the buns in an airtight container. You can keep them in the fridge for up to three days. If you want to keep them longer, freezing is a great option.
Reheating Instructions
When you’re ready to enjoy the leftovers, you can reheat them easily. Use a skillet over medium heat. Add a tiny bit of oil and place the buns in the pan. Heat each side for about three minutes. This will help keep them crispy. You can also use a microwave if you’re in a rush. Just heat them for 30 seconds to one minute.
Freezing and Thawing Tips
To freeze the buns, wrap them in plastic wrap or foil. Place them in a freezer-safe bag or container. They can stay frozen for up to three months. When you want to eat them, thaw the buns in the fridge overnight. After thawing, reheat them as mentioned above. This way, you can enjoy a quick and tasty meal anytime!
FAQs
Can I use different types of noodles?
Yes, you can use different types of noodles for this recipe. I often use rice noodles or soba noodles. Both work well and add unique flavors. You can also try egg noodles or even gluten-free options. Just make sure they are cooked and cooled before mixing with the filling.
How do I know when the buns are fully cooked?
The buns are fully cooked when they are golden brown on both sides. This usually takes about 5 minutes per side over medium heat. You can also check if they feel firm to the touch. If they are crispy on the outside and warm throughout, they are ready to enjoy!
What dipping sauces pair well with these buns?
These buns taste great with a variety of dipping sauces. I recommend soy sauce for a classic touch. A spicy chili sauce also adds a nice kick. You can mix soy sauce with a bit of sesame oil for a tasty twist. Feel free to get creative and find what you love!
Can I prepare these buns ahead of time?
Yes, you can prepare these buns ahead of time. You can make the filling and assemble the buns earlier in the day. Just store them in the fridge until you are ready to cook. This makes it easy for a quick meal during busy days!
You learned about the key ingredients needed for perfect buns, the preparation process, and helpful tips for the best results. We also explored variations for different diets and provided storage tips for leftovers. Remember, with practice, you can create delicious buns that will impress everyone. Feel free to experiment with flavors and enjoy the cooking journey. Happy cookin