Are you ready to take your sugar cookies to the next level? The Easiest Sugar Cookie Icing is here to help! With just a few simple ingredients and quick steps, you can create a beautiful, tasty icing that will impress. In this guide, I’ll walk you through everything you need to know, from mixing the base to choosing colors. Let’s sweeten up those cookies together!
Why I Love This Recipe
- Quick and Easy: This icing can be made in just 10 minutes, making it a perfect choice for last-minute baking projects.
- Customizable Colors: With the addition of food coloring, you can create a rainbow of shades to match any occasion or theme.
- Delicious Flavor: The vanilla extract adds a lovely flavor to the icing, enhancing the overall taste of your sugar cookies.
- Perfectly Set: This icing dries to a hard finish, ensuring your cookies look beautiful and can be stacked without smudging.
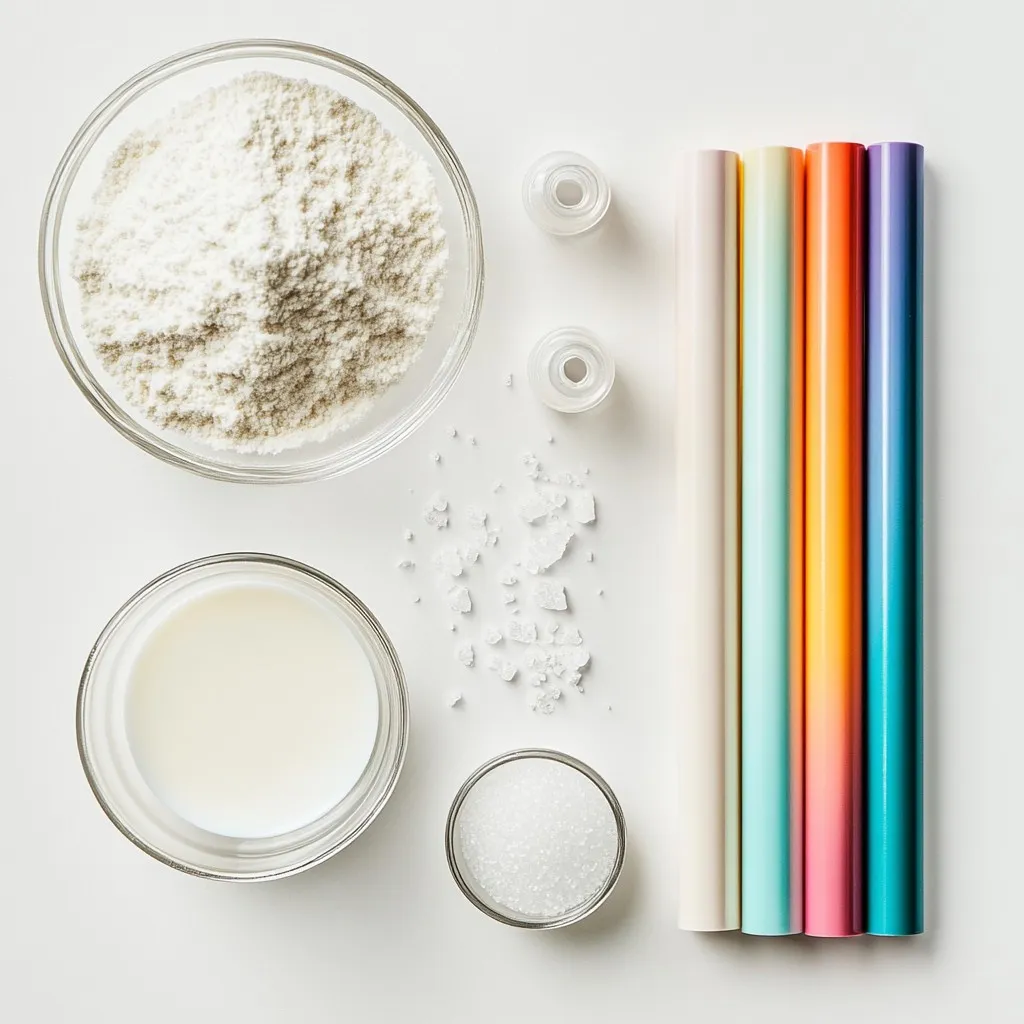
Ingredients
List of Ingredients
– 2 cups powdered sugar
– 2 tablespoons milk (or water)
– 1 teaspoon vanilla extract
– A pinch of salt
– Food coloring (optional)
To make easy sugar cookie icing, gather these simple ingredients. First, we need 2 cups of powdered sugar. This sugar helps our icing get that sweet taste and smooth texture. Next, grab 2 tablespoons of milk or water. The liquid makes our icing easy to mix.
Don’t forget 1 teaspoon of vanilla extract. This adds a nice flavor to our icing. A pinch of salt balances the sweetness. Finally, food coloring is optional. It lets you create fun colors for your cookie designs.
With these ingredients, you are set to create your icing. Remember, simple and fun are the keys!
Step-by-Step Instructions
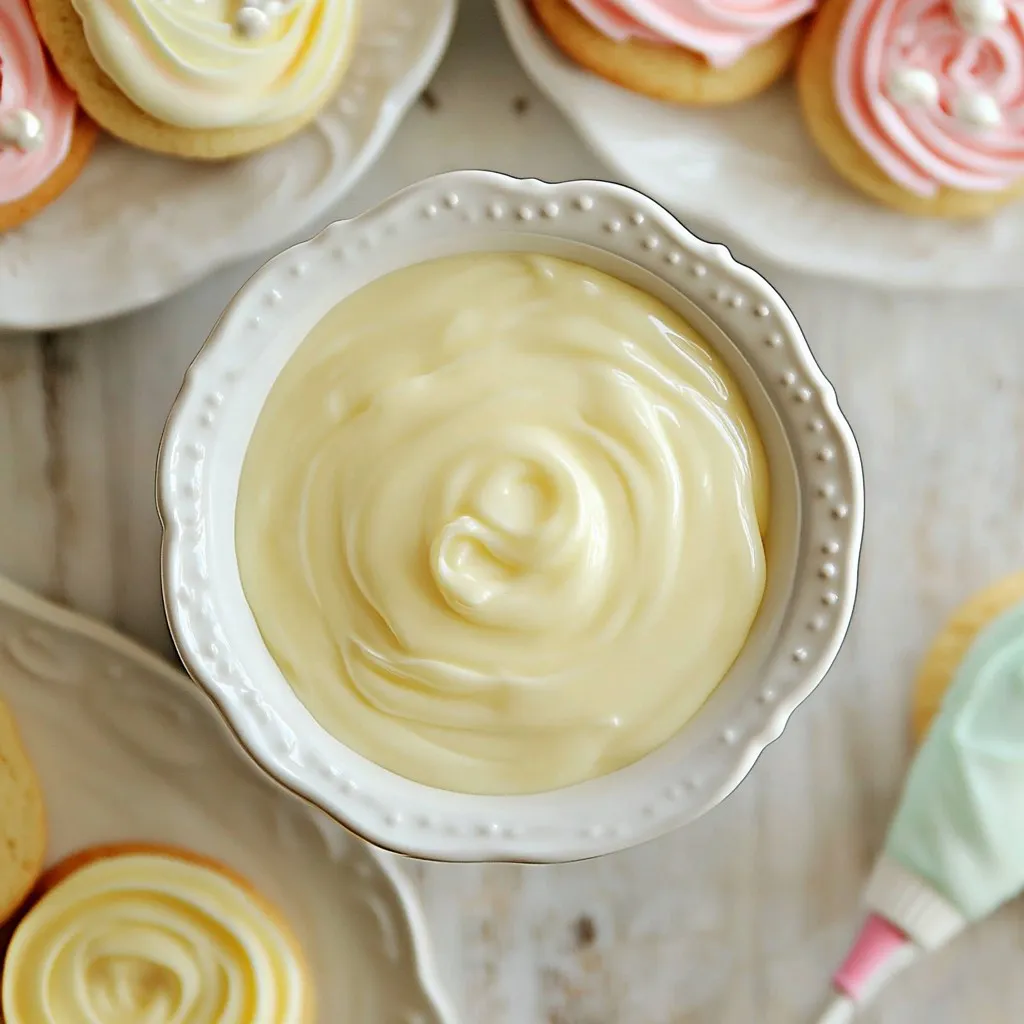
Mixing the Base
First, grab a mixing bowl. Add 2 cups of powdered sugar and 2 tablespoons of milk or water. Use a whisk to mix them together. Keep whisking until the mix is smooth. This step is key for a nice base.
Adding Flavor
Now, add 1 teaspoon of vanilla extract and a pinch of salt to the bowl. Whisk well to blend in these flavors. If the icing seems too thick, add a little more milk. The icing should coat the back of a spoon but still pour easily.
Coloring the Icing
If you want colors, divide the icing into bowls. Add food coloring to each bowl. Mix until you get the shades you like. This step adds fun to your cookies!
Icing Application
Next, pour the icing into a piping bag. If you don’t have one, use a small spoon. You can drizzle the icing over cooled sugar cookies. For fun designs, use the piping bag with a small round tip.
Setting the Icing
Let the icing sit at room temperature. It needs about 30 minutes to harden. This helps your cookies look great and taste even better!
Tips & Tricks
Achieving the Right Consistency
For sugar cookie icing, you want to find the right balance. A thick icing coats cookies well, while a pourable one spreads easily.
– Thick vs. pourable icing: Thick icing holds its shape. Pourable icing flows smoothly. Think of it like honey versus syrup.
– Adjusting with milk or powdered sugar: Start with the base recipe. If your icing is too thick, add a bit more milk. If it’s too runny, mix in more powdered sugar. Aim for a smooth, shiny finish.
Best Practices for Decorating
Decorating cookies should be fun and easy. Using the right tools makes a big difference.
– Recommended piping tools: Use piping bags and small round tips for precise designs. A squeeze bottle can also work for quick coverage.
– Techniques for even coverage: Start at the edge and move inward. This helps avoid drips. For finer details, use a steady hand and take your time.
Flavor Variations
Add a personal twist to your icing. Simple changes can create exciting new flavors.
– Adding extracts (e.g., almond, lemon): Try adding a teaspoon of almond or lemon extract. This gives a lovely depth to your icing.
– Other flavoring options: Consider mixing in citrus zest or a pinch of cocoa powder for a chocolatey touch. Experiment with what you love!
Pro Tips
- Adjust Consistency: If your icing is too thick, add a little more milk or water, a teaspoon at a time, until you reach the perfect pourable consistency.
- Color Mixing: When using food coloring, start with just a drop and gradually add more until you achieve your desired shade. This helps prevent overly dark colors.
- Pipe with Precision: For detailed designs, use a piping bag fitted with a small round tip to control the flow of icing for intricate decorations.
- Setting Time: Allow the icing to set completely at room temperature; this can take longer in humid conditions. Avoid refrigerating to prevent condensation.
Variations
Royal Icing Substitutes
You can adjust the base recipe for royal icing. Use more powdered sugar and less liquid. This makes a thicker icing that dries hard. Adding egg whites can also help. Egg whites give royal icing its shine and hold. If you want a simple version, just stick to my basic recipe. It works well for most cookie designs.
Dairy-Free Version
For a dairy-free option, swap out milk for non-dairy alternatives. Almond milk or oat milk works great! Just use the same amount in the recipe. The icing will taste just as sweet. You can still get a nice creamy texture. This way, everyone can enjoy your cookies!
Flavored Sugar Cookie Icing
You can easily infuse flavors into your icing. Add citrus zest, like lemon or orange, for a fresh taste. A few drops of almond or peppermint extract work well too. Just mix it into the icing after adding the vanilla. This adds a fun twist to your cookies. Experiment with flavors that you love!
Storage Info
Storing Leftover Icing
To keep your icing fresh, store it in an airtight container. Use a bowl with a tight lid or a resealable plastic bag. Make sure to remove all air to prevent drying. If you need to store it for more than a day, cover the surface with plastic wrap. This helps avoid crusting.
Freezing Icing
You can freeze icing for later use. First, place it in an airtight container. Label the container with the date. When you are ready to use it, thaw it in the fridge overnight. After thawing, stir it well to restore the texture. If needed, add a little milk to adjust the consistency.
Shelf Life
When stored properly, icing lasts about two weeks in the fridge. If frozen, it can last up to three months. Always check for changes in smell or texture before using. If it seems off, it’s best to discard it.
FAQs
Can I use water instead of milk?
Yes, you can use water instead of milk. However, using water changes the texture and flavor. Milk adds a creamier taste and richer texture. The icing may not be as smooth if you use water. If you prefer a lighter flavor, water works fine. Just remember, the choice affects your final result.
How long does the icing take to dry?
The icing takes about 30 minutes to dry at room temperature. Factors like humidity and thickness affect this time. If your icing is thick, it may take longer to set. In a humid room, drying can slow down too. For quicker results, a fan can help speed up the drying process.
Can I make icing ahead of time?
Yes, you can make icing in advance. Store it in an airtight container. Keep it in the fridge for up to a week. Before using, let it sit at room temperature. If it’s too thick, add a bit of milk to thin it out. This way, you save time for your baking day.
What’s the best way to clean piping bags?
Cleaning piping bags is easy. First, rinse them with warm water right after use. This helps remove most of the icing. Then, wash them with soap and water. You can also use a long brush for hard-to-reach spots. Let them air dry completely before storing. This keeps them fresh for your next baking project.
You now have all the tools to make delicious icing for your cookies. We covered the key ingredients, step-by-step mixing, and coloring techniques. I shared tips for consistency and how to decorate like a pro. You also learned about variations and storage tips to keep it fresh. Remember, practice makes perfect. Enjoy experimenting with flavors and colors. Your cookies will look great and taste even bette