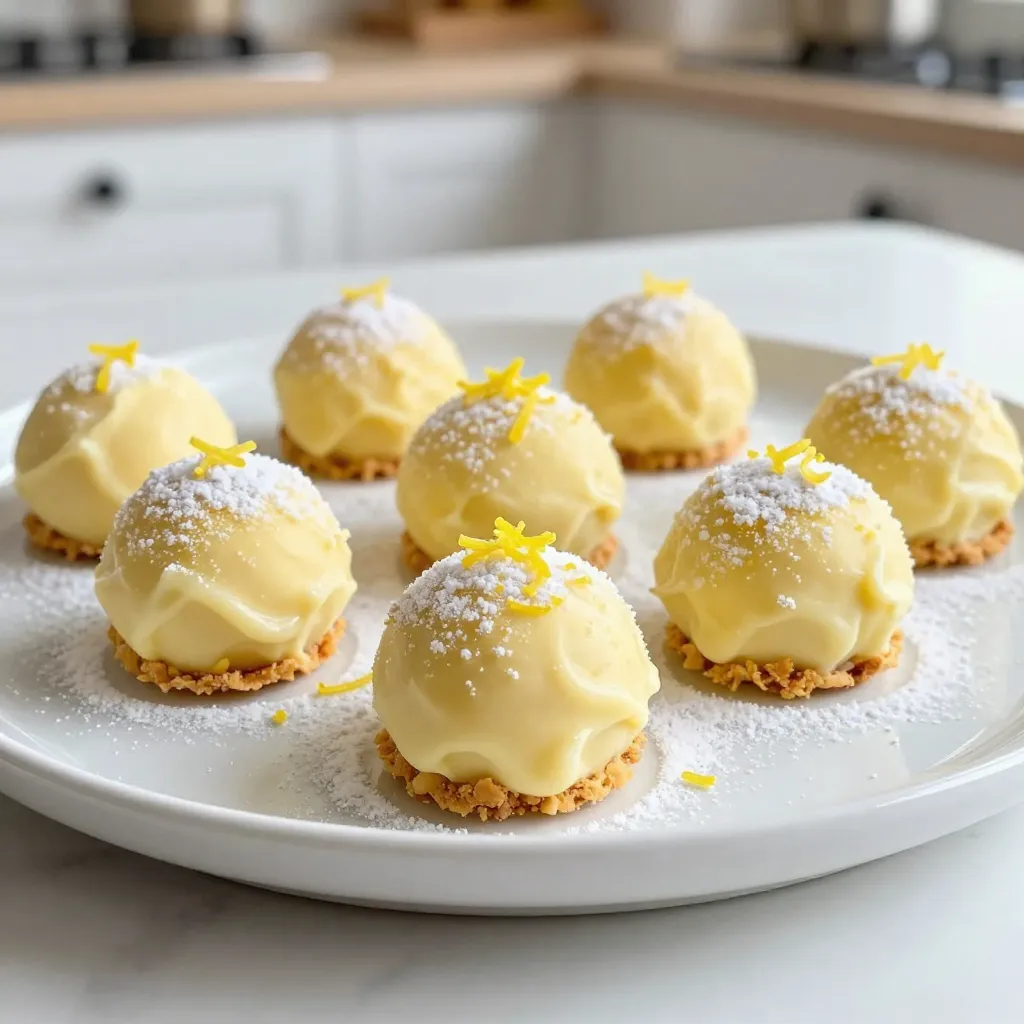
If you love a sweet treat with a zesty twist, you’ll adore these creamy lemon truffles! This delightful recipe is easy to follow and perfect for any occasion. With just a few simple ingredients like heavy cream, white chocolate, and fresh lemon zest, you’ll create a dessert that’s both luxurious and refreshing. Let’s dive into making these tasty truffles that everyone will enjoy!
Why I Love This Recipe
- Bright and Zesty Flavor: The combination of fresh lemon juice and zest creates a refreshing burst of citrus that brightens your day.
- Decadent Yet Light: These truffles offer a rich creamy texture from the white chocolate while remaining light and not overly sweet.
- Versatile Coating Options: With choices like crushed biscuits, coconut, or nuts, you can customize these truffles to suit any palate or occasion.
- Perfect for Any Occasion: Whether it’s a special event or a casual treat, these truffles are sure to impress your guests and loved ones.
Ingredients
To make creamy lemon truffles, you need a few key ingredients. Each one plays a big role in the flavor and texture. Here’s what you will need:
– 1 cup heavy cream
– 8 oz white chocolate, finely chopped
– Zest of 2 lemons
– 1/3 cup freshly squeezed lemon juice
– 1 teaspoon vanilla extract
– 1 cup crushed digestive biscuits or graham crackers
– Powdered sugar for dusting (optional)
– Shredded coconut or finely chopped nuts for coating (optional)
These ingredients blend together to create a smooth, tangy treat. The heavy cream makes the truffles rich and creamy. White chocolate adds a sweet touch. Fresh lemon juice and zest give a bright, zesty flavor.
You can use digestive biscuits or graham crackers for a crunchy base. Feel free to use powdered sugar, coconut, or nuts for extra flair. Each addition can change the taste and look of your truffles.
Gathering these ingredients is quick and easy. You will create a delicious treat that everyone will love!

Step-by-Step Instructions
Heating the Cream
When heating the cream, watch closely. You want it hot, but not boiling. If it boils, it can curdle. Remove it from heat just before it bubbles. Timing is key here. This step affects the texture of your truffles.
Mixing with Chocolate
Next, add the chopped white chocolate to the hot cream. Stir gently until the chocolate melts. You want a smooth consistency. If it’s not smooth, keep stirring. The vanilla extract adds a nice flavor. It balances the sweetness of the chocolate and lemon.
Chilling and Scooping
Now, let the mixture cool to room temperature. Then cover it and refrigerate for about 2 hours. This cooling time is crucial. It helps the mixture firm up. When it’s ready, use a small scoop or tablespoon to form balls. Aim for uniform sizes to make them look neat.
Coating the Truffles
To coat the truffles, roll them in your hands first. This smooths them out nicely. You can use crushed digestive biscuits, shredded coconut, or chopped nuts. Each option gives a different flavor and texture. Place them on a lined baking sheet. If you like, dust with powdered sugar for an extra touch.
Tips & Tricks
Achieving the Perfect Texture
Chilling the truffles is key to getting the right texture. After mixing your ingredients, let the mixture cool to room temperature first. Then, refrigerate it for about two hours. This helps it firm up. If you’re in a hurry, you can spread the mixture in a shallow pan. This speeds up the cooling process.
Flavor Enhancements
To boost flavor, try adding extracts or zests. A bit of almond or mint extract can change the taste. You can also add extra lemon zest for a stronger lemon flavor. For chocolate lovers, consider using dark or milk chocolate instead of white chocolate. Each type adds its unique twist to the truffles.
Decorative Presentation
Garnishes make your truffles look fancy. You can use lemon zest, edible flowers, or colorful sprinkles. Arrange the truffles on a nice platter for serving. For events, use small paper liners to hold each truffle. This not only adds style but also makes it easy for guests to grab one.
Pro Tips
- Use Quality Chocolate: Opt for high-quality white chocolate for a smoother and richer flavor in your truffles.
- Chill Thoroughly: Ensure the mixture is fully chilled before scooping to make shaping the truffles easier.
- Experiment with Coatings: Try different coatings like crushed cookies, nuts, or even melted chocolate for variety.
- Serve Fresh: These truffles are best served fresh, so enjoy them within a few days for optimal taste.
Variations
Flavor Combinations
You can change up the flavors in these truffles. Consider using other fruits. Strawberries, raspberries, or even orange zest can add a twist. Each fruit gives a new taste. For a fun kick, try adding mint or basil. These herbs can make your truffles extra special. Just remember, a little goes a long way.
Dietary Modifications
If you need gluten-free truffles, use gluten-free biscuits. They work just as well. For vegan options, swap the heavy cream for coconut cream. Use dairy-free chocolate instead of white chocolate. Both changes keep the truffles creamy and delicious. You can enjoy them while staying true to your diet.
Unique Coatings
Get creative with your coatings! You can use crushed cookies, nuts, or even sprinkles. For a unique take, try using matcha powder or cocoa powder. Each coating adds flavor and texture. Explore regional specialties too. For example, use crushed pistachios for an Eastern twist.
Storage Info
Best Practices for Storage
To keep your creamy lemon truffles fresh, store them in the fridge. Use an airtight container to prevent them from drying out. Keep them on a middle shelf, where the temperature stays constant. This helps maintain their creamy texture and zesty flavor. You can also place parchment paper between layers if stacking them. This will avoid any sticking.
Freezing Truffles
Freezing can extend the life of your truffles. First, place them on a baking sheet. Make sure they are not touching so they don’t stick together. Freeze them for about an hour until solid. After that, transfer them to a freezer bag. Remove as much air as possible before sealing. To thaw, just leave them in the fridge overnight. This keeps their texture intact.
Shelf Life
When stored correctly, truffles last about two weeks in the fridge. Check for any signs of spoilage, like a sour smell or an odd texture. If they look dry or hard, it’s best to discard them. Fresh truffles should feel soft but firm, with a bright lemony scent. Always trust your senses when checking for freshness!
FAQs
How do I know when the truffles are set?
You can tell the truffles are set when they feel firm to the touch. They should not leave a dent when you gently press them. The refrigeration is key for this. Chilling the mixture for about two hours helps it firm up. If they are not firm, they won’t hold their shape when you scoop them.
Can I make these truffles ahead of time?
Yes, you can make these truffles ahead of time. I suggest preparing them up to three days in advance. After you coat them, store them in an airtight container. Keep them in the fridge to maintain their freshness. This way, you can enjoy them without stress before your event.
What can I use instead of digestive biscuits?
If you don’t have digestive biscuits, graham crackers work great too. You can also use crushed cookies or even nuts for a unique twist. Each option gives a different taste and texture. Just remember, digestive biscuits provide a nice balance of sweetness and crunch.
This blog post walked you through making delicious truffles. We discussed key ingredients like heavy cream and white chocolate. I shared step-by-step instructions for heating, mixing, chilling, and coating. You learned tips for texture and flavor, plus fun variations to try.
Remember, you can personalize your truffles by adding fruit, spices, or unique coatings. Store them properly to keep them fresh. Enjoy making your own truffles and impressing your friends and family with your tasty skill