If you love the rich taste of chocolate combined with zesty orange, this Chocolate Orange Cheesecake recipe is for you! I’ll show you how to make this delightful dessert with simple steps and easy ingredients. Whether you’re impressing guests or treating yourself, this cheesecake will shine at any gathering. Get ready to create a sweet masterpiece that’s creamy, smooth, and oh-so-indulgent. Let’s dive into this tasty adventure together!
Why I Love This Recipe
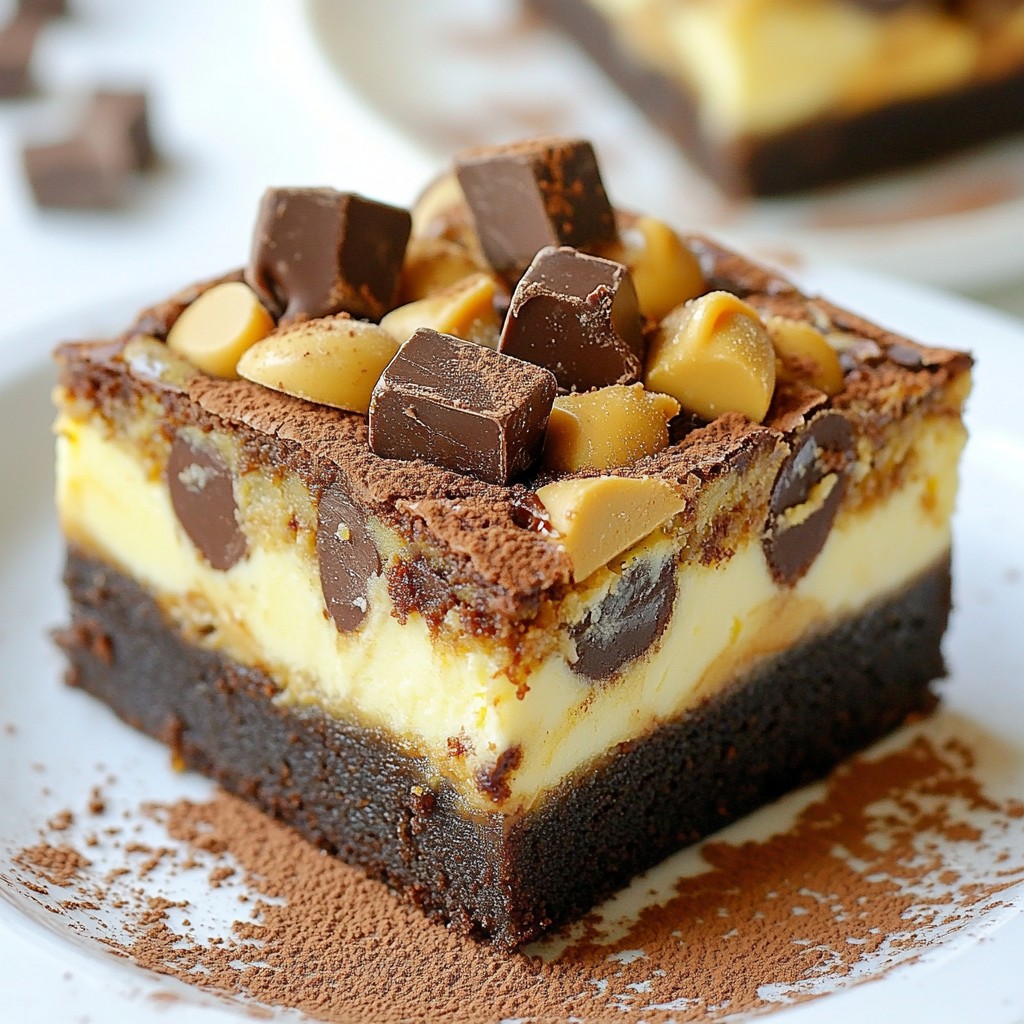
- Rich Chocolate Flavor: This cheesecake is a chocolate lover’s dream, featuring a luscious creamy filling that is infused with semi-sweet chocolate.
- Bright Citrus Twist: The addition of fresh orange juice and zest brightens the flavor profile, creating a perfect balance between sweet and tangy.
- Decadent Texture: With a smooth and creamy filling set atop a crunchy chocolate cookie crust, each bite is an indulgent experience.
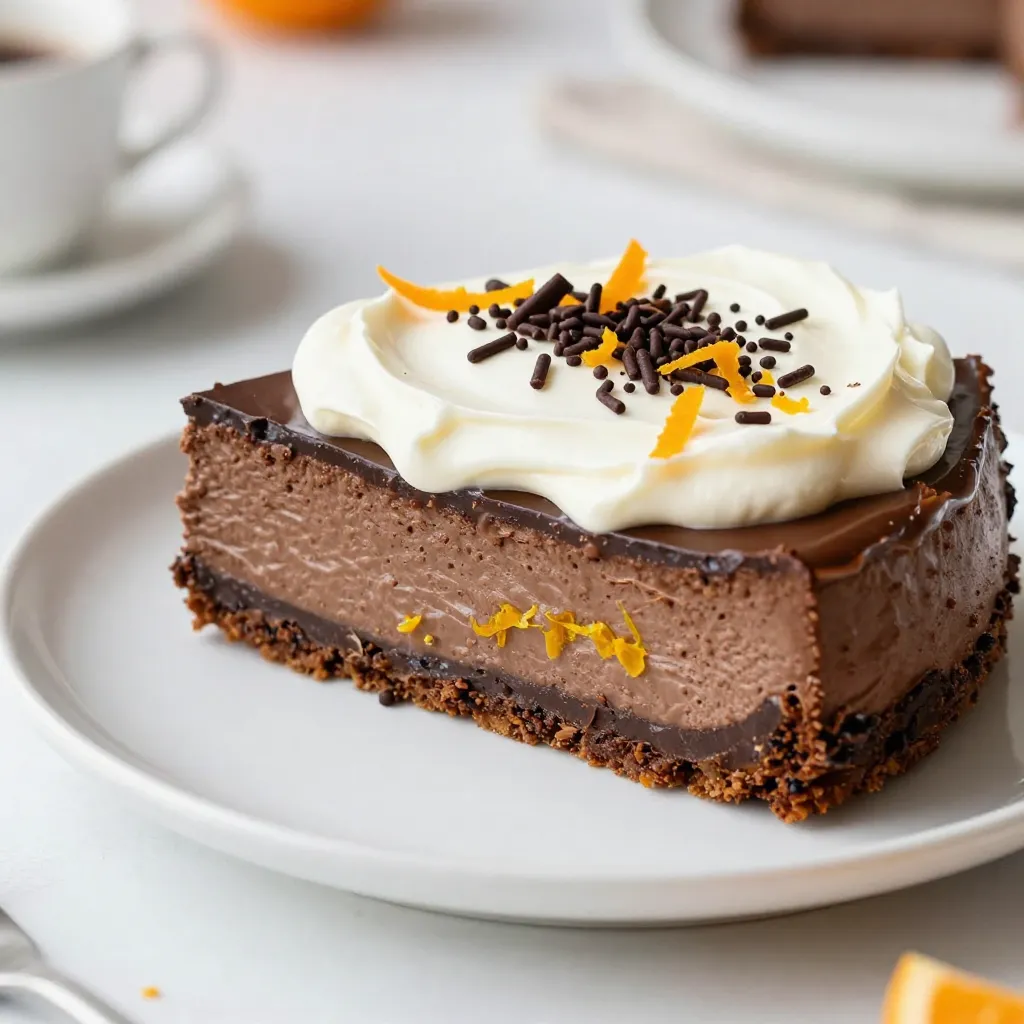
- Impressive Presentation: Topped with fluffy whipped cream and garnished with orange zest and chocolate shavings, this cheesecake looks as amazing as it tastes.
Ingredients
For the crust
– 1 ½ cups chocolate cookie crumbs
– ¼ cup unsalted butter, melted
– 2 tablespoons granulated sugar
For the cheesecake filling
– 16 oz cream cheese, softened
– 1 cup granulated sugar
– 3 large eggs
– 1 teaspoon vanilla extract
– Zest of 1 large orange
– ½ cup fresh orange juice
– 1 cup semi-sweet chocolate chips, melted
For the topping
– 1 cup heavy whipping cream
– 2 tablespoons powdered sugar
– Orange zest, for garnish
– Chocolate shavings, for garnish
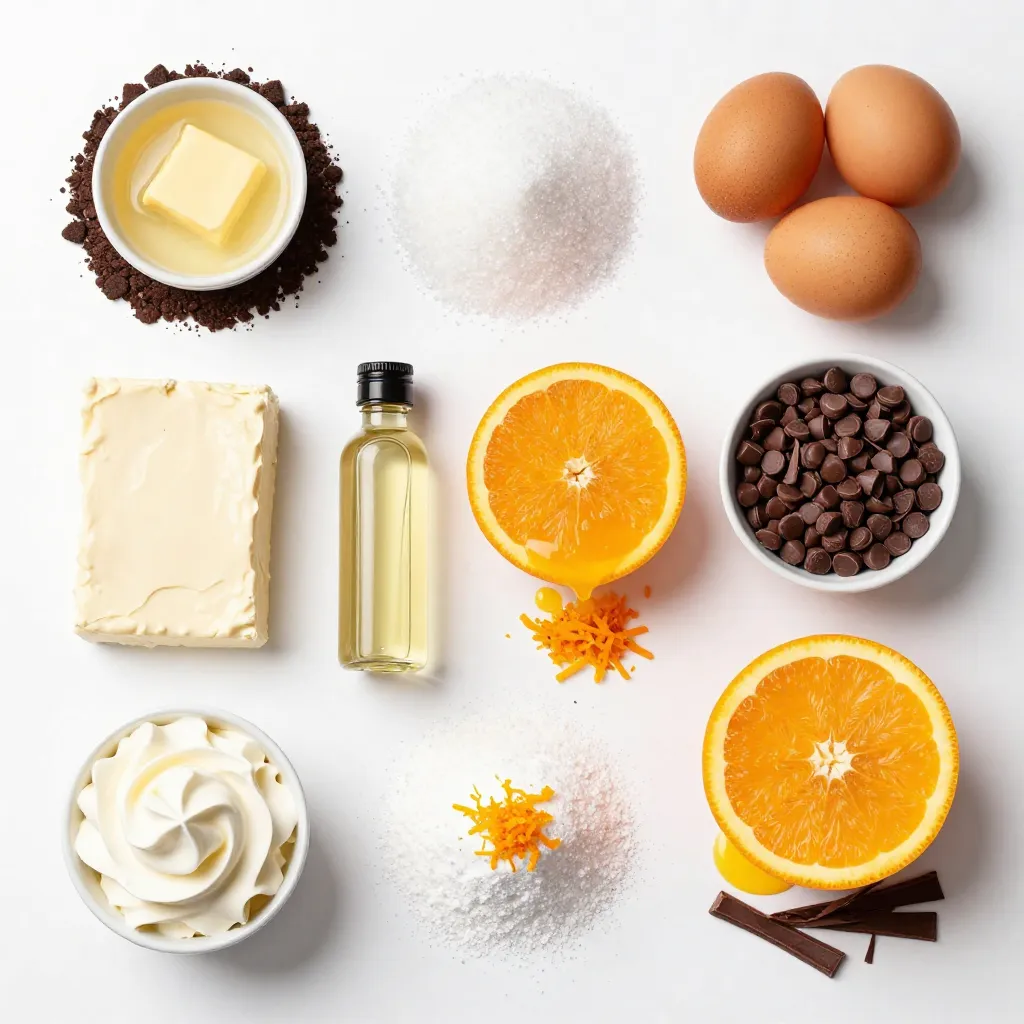
To make this chocolate orange cheesecake, you need some key ingredients. The crust uses chocolate cookie crumbs, which give a nice chocolatey base. You will also need melted unsalted butter and a bit of granulated sugar to bind it all together.
Next, the cheesecake filling is the star of the show. For this, you need softened cream cheese for creaminess, along with granulated sugar for sweetness. You’ll add in three large eggs to help it set. Vanilla extract gives flavor, while fresh orange juice and zest add a bright note. Finally, melted semi-sweet chocolate chips blend in to create a rich taste.
For the topping, whip heavy cream with powdered sugar until it forms soft peaks. This light topping contrasts nicely with the dense cheesecake. Orange zest and chocolate shavings make for a beautiful and tasty garnish.
With these ingredients, you are ready to create a dessert that dazzles and delights. Each bite combines chocolate and orange in a way that feels special.
Step-by-Step Instructions
Prepare the Crust
First, grab a mixing bowl. Combine 1 ½ cups of chocolate cookie crumbs, ¼ cup of melted unsalted butter, and 2 tablespoons of granulated sugar. Stir until it looks like wet sand. Next, press this mixture firmly into the bottom of a 9-inch springform pan. Make sure it’s even, then set it aside.
Make the Cheesecake Filling
In a large bowl, beat 16 ounces of softened cream cheese with 1 cup of granulated sugar. Use an electric mixer until it’s smooth and creamy. Then, add 3 large eggs one at a time. Mix gently on low speed after each egg. Don’t overmix; just blend until combined.
Flavor and Bake
Now, stir in 1 teaspoon of vanilla extract, the zest of one large orange, and ½ cup of fresh orange juice. This is where the magic happens! Fold in 1 cup of melted semi-sweet chocolate until everything is well combined and smooth. Pour this filling over the crust in the springform pan. Bake in a preheated oven at 325°F for about 50 to 60 minutes. The edges should be set, but the center will jiggle a bit.
Cool and Chill
Turn off the oven and crack the door slightly. Let the cheesecake cool inside for about one hour. After that, remove it from the oven and refrigerate it for at least four hours. For the best texture, let it chill overnight.
Whip the Topping and Assemble
In a chilled mixing bowl, whip 1 cup of heavy cream with 2 tablespoons of powdered sugar. Beat until soft peaks form. Once the cheesecake is cool, spread the whipped cream evenly on top. Garnish with some orange zest and chocolate shavings for a lovely touch.
Slice and Serve
Carefully remove the sides of the springform pan. Use a sharp knife to slice the cheesecake. Serve it up and enjoy your delightful treat!
Tips & Tricks
Achieving the Perfect Texture
To get a smooth and creamy cheesecake, use room temperature ingredients. Cold cream cheese can cause lumps. Let the cream cheese sit out for about 30 minutes before you start. This little step makes a big difference.
Cooling your cheesecake is also key. After baking, turn off the oven and crack the door. This allows the cheesecake to cool slowly, which helps prevent cracks. Let it sit for about an hour in the oven. Then, refrigerate it for at least four hours, or overnight if you can wait. The longer it chills, the better it tastes.
Baking Advice
Oven temperatures can be tricky. Make sure your oven is accurate. An oven thermometer helps check this. If your oven is too hot, the cheesecake might cook unevenly. It can also crack.
Using a water bath is a great way to bake your cheesecake evenly. Wrap the springform pan in aluminum foil to prevent water from leaking in. Place it in a larger pan filled with hot water. This method keeps the temperature steady, giving you a creamy texture.
Whipping Cream Tips
Whipping cream is easy once you know how. Start with cold heavy cream for the best results. Use a chilled mixing bowl to help it whip faster. Beat the cream and powdered sugar until you see soft peaks form. This takes just a few minutes.
Choosing the right cream is also important. Look for heavy whipping cream, which has a high fat content. This helps create a rich and stable topping for your cheesecake.
Pro Tips
- Use Room Temperature Ingredients: Ensure that your cream cheese and eggs are at room temperature before mixing. This helps create a smoother filling and prevents lumps.
- Don’t Overmix: Once you add the eggs to the cheesecake mixture, mix just until incorporated. Overmixing can introduce too much air, causing the cheesecake to crack during baking.
- Water Bath for Creaminess: Consider baking your cheesecake in a water bath. This helps regulate the temperature and moisture, resulting in a creamier texture.
- Chill Overnight: For the best flavor and texture, allow your cheesecake to chill overnight in the refrigerator. This helps the flavors to meld and the texture to set perfectly.
Variations
Flavor Twists
You can change up the taste of your cheesecake. Try using different citrus fruits. Lemon or lime zest gives a fresh kick. You can also add liqueurs for a grown-up version. Orange liqueur, like Grand Marnier, adds depth. Just a splash can enhance the flavor.
Gluten-Free Options
If you need gluten-free options, you can swap the crust. Use ground nuts or gluten-free cookies instead of chocolate cookie crumbs. Almond flour works well too. For a flourless cheesecake, simply skip the crust. Just pour the filling directly into your pan.
Decadent Additions
To make it even more special, add swirls of fudge or caramel. Just drizzle them on top before baking. You can also mix in extra chocolate chips for a richer taste. Consider toppings like fresh berries or a sprinkle of sea salt. These additions elevate the dessert and delight the senses.
Storage Info
Refrigeration
To store leftovers, place the cheesecake in an airtight container. If you do not have a container, cover the top with plastic wrap. This method stops air from drying out the cheesecake. Keeping the cheesecake fresh is easy. Just make sure to put it in the fridge. It can last up to 5 days when stored correctly.
Freezing Instructions
You can freeze the cheesecake for longer storage. First, let it cool completely in the fridge. Then, wrap it tightly in plastic wrap. Cover it with aluminum foil for extra protection. This helps keep the cheesecake safe from freezer burn. To thaw, place it in the fridge overnight. This way, it stays creamy. Serve it cold for the best taste.
Shelf Life
How long does chocolate orange cheesecake last? When stored in the fridge, it lasts up to 5 days. If frozen, it can last up to 3 months. Signs of spoilage include a sour smell or a change in color. If you see any mold, throw it away. Always check before enjoying your treat!
FAQs
Can I make this cheesecake ahead of time?
Yes, you can make this cheesecake ahead of time. I recommend preparing it a day in advance. This gives the flavors time to meld and develop. After baking, cool the cheesecake and refrigerate it for at least four hours. Overnight is best for a creamy texture.
What can I use instead of chocolate cookie crumbs?
If you don’t have chocolate cookie crumbs, you have options. You can use graham cracker crumbs for a milder flavor. Oreos are another great choice; just crush the whole cookie. For a gluten-free option, use gluten-free chocolate cookies. Each choice will give you a tasty crust.
Can I use a different type of cheese?
Yes, you can use different cheese types. Neufchâtel cheese is a lower-fat option that works well. Mascarpone cheese adds a rich and creamy taste. Ricotta cheese can also be used, but it may alter the texture slightly. Always aim for soft cheese for the best results.
How do I know when the cheesecake is done?
To check if your cheesecake is done, look for a few signs. The edges should be set, and the center should jiggle slightly. This means it will firm up as it cools. You can also insert a toothpick; it should come out mostly clean. If it has batter on it, bake a bit longer.
This blog post covered how to make a delicious chocolate orange cheesecake. We explored the crust, filling, and toppings, and I shared step-by-step instructions. You learned tips for perfecting texture and baking, plus variations for fun twists. The storage info ensures you keep your cheesecake fresh. Now you can impress friends and family with this treat. Enjoy every creamy, chocolatey bite. Your baking adventure starts no