Are you ready to satisfy your sweet tooth? This Butterfinger Balls recipe is a game changer! With just a few simple ingredients, you can create these no-bake delights that are perfect for any occasion. Picture creamy peanut butter, crushed Butterfinger bars, and smooth chocolate all rolled into one irresistible treat. In this post, I’ll guide you step-by-step, ensuring your Butterfinger Balls turn out perfect every time. Let’s dive in!
Why I Love This Recipe
- Irresistible Flavor: The combination of creamy peanut butter and crunchy Butterfinger creates a delightful contrast that is hard to resist.
- Easy to Make: With just a few simple ingredients and no baking required, this recipe is perfect for a quick treat.
- Fun for All Ages: Kids and adults alike enjoy rolling the balls and dipping them in chocolate, making it a fun activity for everyone.
- Versatile Treat: These Butterfinger balls can be customized with different toppings or chocolate types to suit your taste.
Ingredients
List of Ingredients
– 1 cup creamy peanut butter
– 1 cup powdered sugar
– 1 1/2 cups crushed Butterfinger candy bars
– 2 cups milk chocolate chips
– 1 tablespoon coconut oil (optional)
The ingredients for Butterfinger Balls are simple yet delicious. You need creamy peanut butter for that rich flavor. The powdered sugar adds sweetness and helps bind the mixture. Crushed Butterfinger candy bars give it that signature crunch and taste. Milk chocolate chips will coat the balls and create a sweet outer layer. If you want smooth chocolate, add coconut oil. This ingredient is optional but helps in melting the chocolate evenly.
Gather all these ingredients before you start. It makes the process smoother and more fun. Enjoy the sweet journey of making these treats!

Step-by-Step Instructions
Preparation of the Peanut Butter Mixture
Start by taking a mixing bowl. Add 1 cup of creamy peanut butter and 1 cup of powdered sugar. Mix them well until you have a smooth and thick blend. This step is key. It gives the balls a sweet, rich flavor. Next, fold in 1 1/2 cups of crushed Butterfinger candy bars. Make sure the candy is evenly spread throughout the mixture for that delicious crunch.
Forming and Chilling the Balls
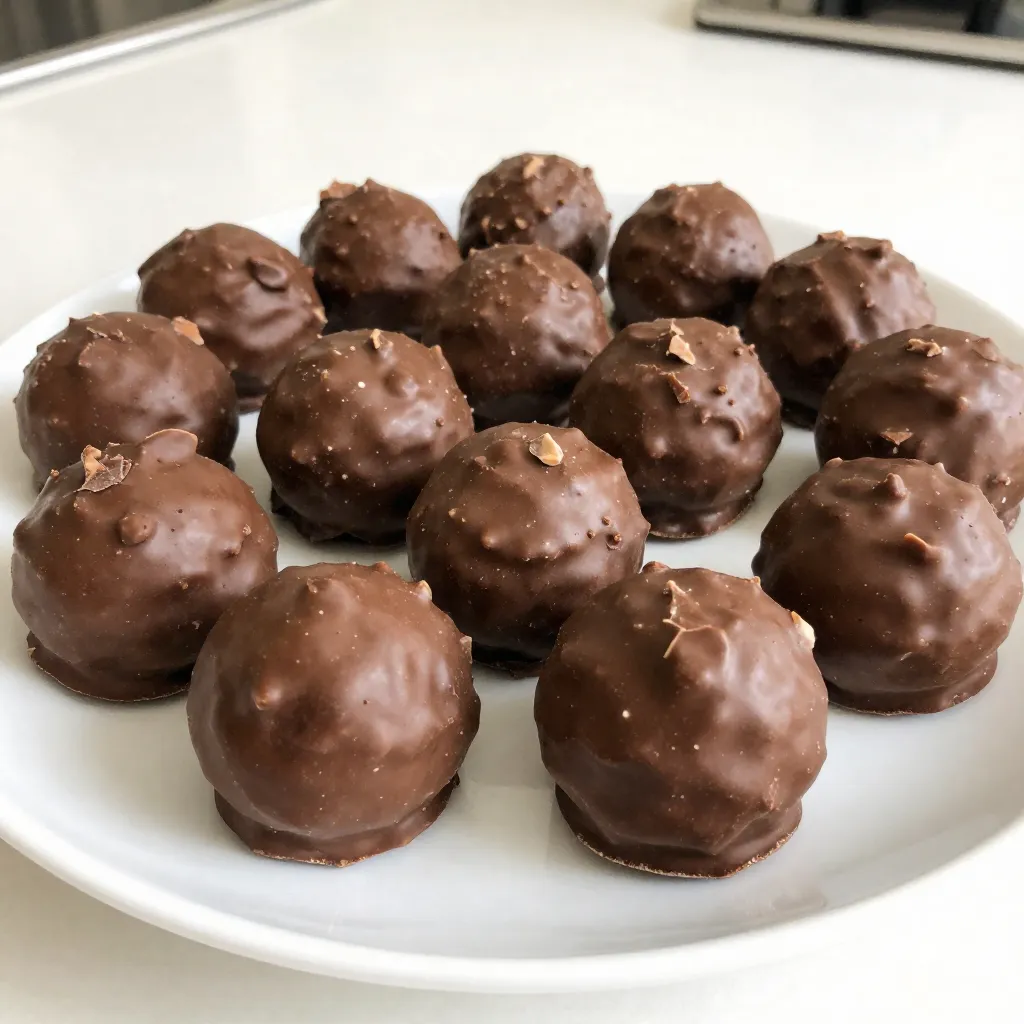
Now, use your hands to shape the mixture into small balls, about 1 inch wide. Place each ball on a parchment-lined tray. This keeps them from sticking. Once you shape all the balls, it’s time to chill them. Put the tray in the refrigerator for about 30 minutes. This helps the balls firm up, so they hold their shape when dipped in chocolate.
Melting the Chocolate
While the balls chill, prepare your chocolate coating. In a microwave-safe bowl, combine 2 cups of milk chocolate chips with 1 tablespoon of coconut oil. The coconut oil is optional, but it helps the chocolate melt smooth and creamy. Heat the mixture in the microwave in 30-second bursts. Stir after each interval until the chocolate is fully melted and smooth.
Dipping the Balls in Chocolate
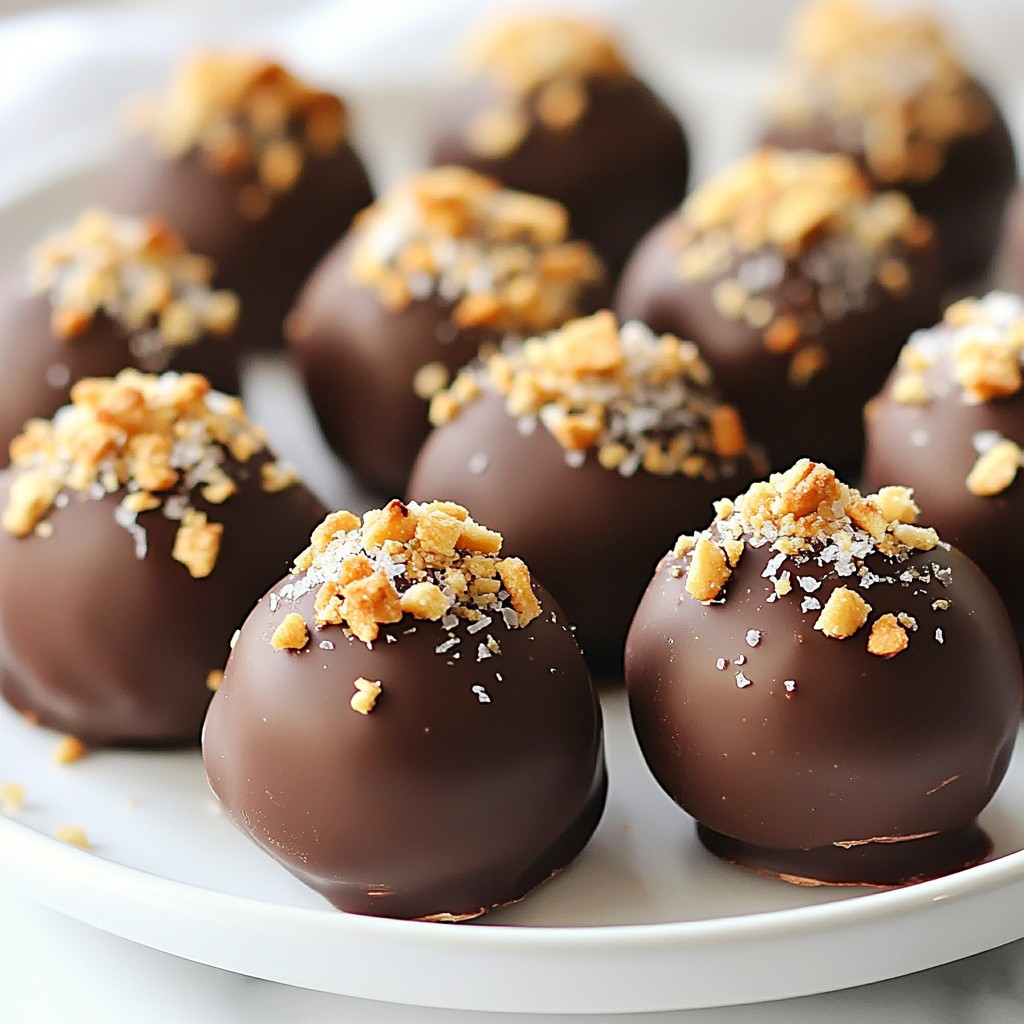
Once the balls are firm, take them out of the fridge. Dip each ball into the melted chocolate. Make sure to coat them evenly. Use a fork to lift the ball out of the chocolate. Allow any extra chocolate to drip off before placing the ball back on the tray. If you want, sprinkle some crushed Butterfinger or chopped nuts on top while the chocolate is still soft. This adds a fun texture and a pop of flavor.
Tips & Tricks
Perfecting the Mixture
To make Butterfinger Balls, start with the right mix. You want a smooth and thick texture. If the mix feels too dry, add a bit more peanut butter. If it’s too wet, add more powdered sugar. Adjusting sweetness is easy. Taste the mix. If you want it sweeter, add more sugar.
Chocolate Dipping Techniques
Dipping is key for great Butterfinger Balls. To coat evenly, use a fork. Dip each ball fully in the melted chocolate. Lift it out and let excess chocolate drip off. To stop clumping, stir your chocolate well. Heat it slowly in the microwave, stirring every 30 seconds.
Serving Suggestions
These treats shine at any gathering. Pair Butterfinger Balls with milk or coffee. For a fun twist, place them on a colorful platter. You can also drizzle melted chocolate on top for flair. For parties, use cupcake liners to serve them. This adds style and keeps them neat.
Pro Tips
- Chill for Firmness: Make sure to chill the balls before dipping them in chocolate. This helps them hold their shape during the coating process.
- Even Melting: If using coconut oil, it helps the chocolate melt smoothly and evenly. This is especially useful if you’re microwaving the chocolate.
- Crushed Toppings: For an extra touch, sprinkle some crushed Butterfinger or chopped nuts on top of the chocolate before it hardens.
- Storage Tips: Store the finished Butterfinger balls in an airtight container in the refrigerator to keep them fresh and delicious.
Variations
Different Nut Butters
You can switch creamy peanut butter for almond butter or cashew butter. These nut butters add unique flavors. Almond butter gives a nutty taste. Cashew butter is creamier and sweeter. Both options work well in this recipe. Just make sure to pick a nut butter you enjoy.
Flavors and Add-ins
Consider adding vanilla extract for a warm touch. A pinch of sea salt can bring out the sweetness. Mix these extras into your peanut butter mixture before forming the balls. This small change can make a big difference. You can also add extras like chopped nuts or a sprinkle of sea salt on top for more texture and flavor.
Dietary Modifications
For a vegan option, use a plant-based butter. Swap regular chocolate chips for dairy-free ones. You can also make it gluten-free by checking the candy bars for gluten. Many brands offer gluten-free candy options. These changes keep the taste delicious while catering to different diets.
Storage Info
Best Storage Practices
Store Butterfinger Balls in the fridge for the best taste and texture. The cold helps keep them firm. If you leave them at room temperature, they may get soft and lose shape. For a quick snack, you can keep a few out for a day. Just remember to put them back in the fridge later.
Shelf Life
You can enjoy Butterfinger Balls for about one week when stored in the fridge. If you keep them in an airtight container, they stay fresh longer. Always check for signs of spoilage before eating. If they look or smell off, it is best to toss them.
Freezing Instructions
To freeze Butterfinger Balls, place them in a single layer on a baking sheet. Put the sheet in the freezer for about an hour. Once they are firm, transfer them to a freezer-safe bag or container. They can last for up to three months in the freezer. When you’re ready to eat, let them thaw in the fridge overnight. This keeps them tasty and fresh.
FAQs
Can I use crunchy peanut butter instead of creamy?
Yes, you can! Crunchy peanut butter adds a fun texture. You will have little bits of peanut in each bite. This makes the balls more exciting. However, the flavor will remain similar. If you prefer smooth textures, stick with creamy peanut butter.
How do I know when the chocolate is melted properly?
Look for a smooth and glossy texture. Stir the chocolate as it melts. If it looks shiny and flows easily, it’s ready. Take care not to overheat it. Burnt chocolate can ruin your Butterfinger Balls.
Can I make Butterfinger Balls ahead of time?
Absolutely! You can make them a day or two in advance. Just store them in the fridge. Use an airtight container for best results. This way, they stay fresh and tasty for your event.
What if I don’t have coconut oil?
No problem! You can skip the coconut oil if needed. You can also use vegetable oil or butter as an alternative. These will help the chocolate melt smoothly too. Just remember that the flavor may change slightly.
Butterfinger Balls are simple and fun to make. We covered the ingredients, from creamy peanut butter to delicious Butterfinger candy. You learned how to prepare the mixture and chill it. Melting chocolate and dipping the balls were key steps.
Try the tips for perfecting the texture and coating. Feel free to explore variations like different nut butters or flavors. Store them properly to enjoy later. Making these treats is a delight. Now it’s time to gather your ingredients and start rollin