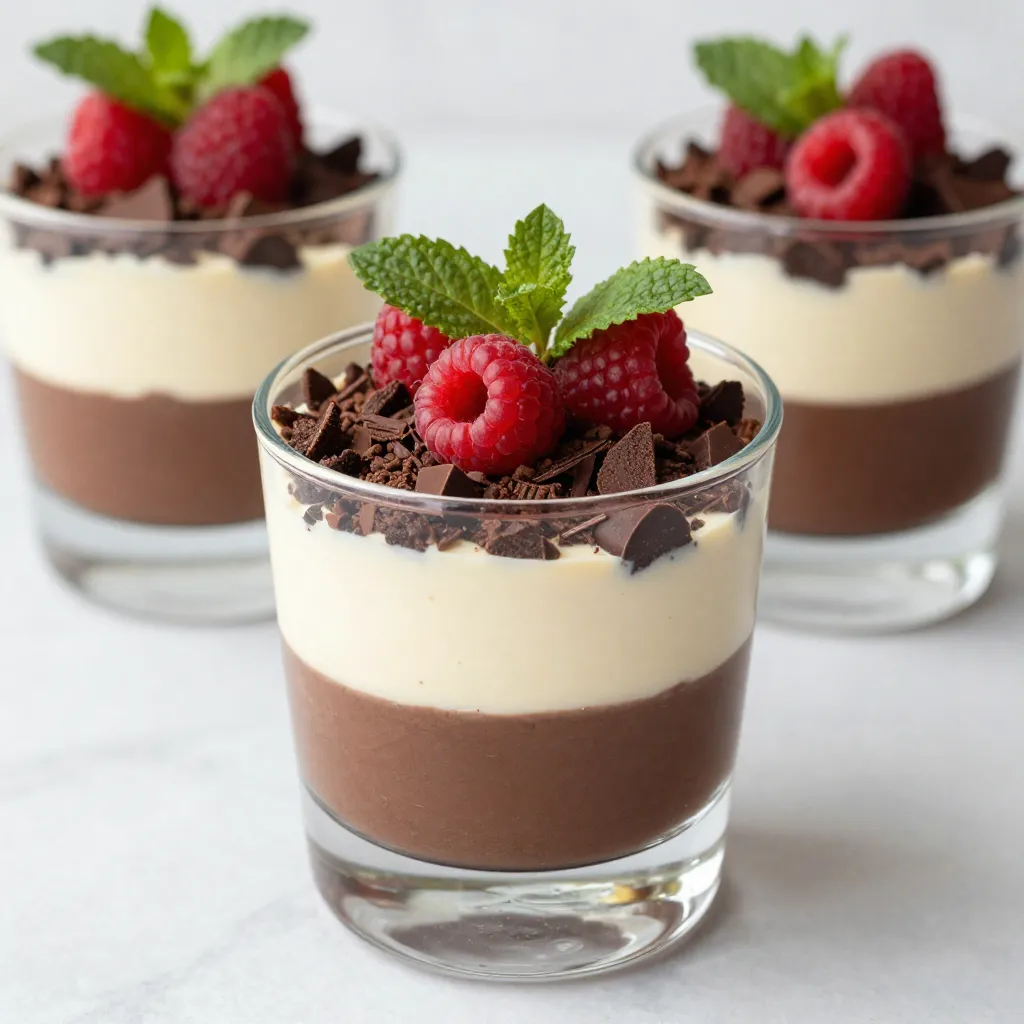
Looking for a dessert that wows your friends and family? Let me introduce you to the Baileys Chocolate Cheesecake Trifle. This easy treat layers rich flavors with a creamy texture. You’ll find no complicated steps here—just simple ingredients like cream cheese, chocolate pudding, and fresh berries. In this article, I’ll walk you through how to make this delightful dessert, tips to perfect it, and even some fun variations. Get ready to impress!
Why I Love This Recipe
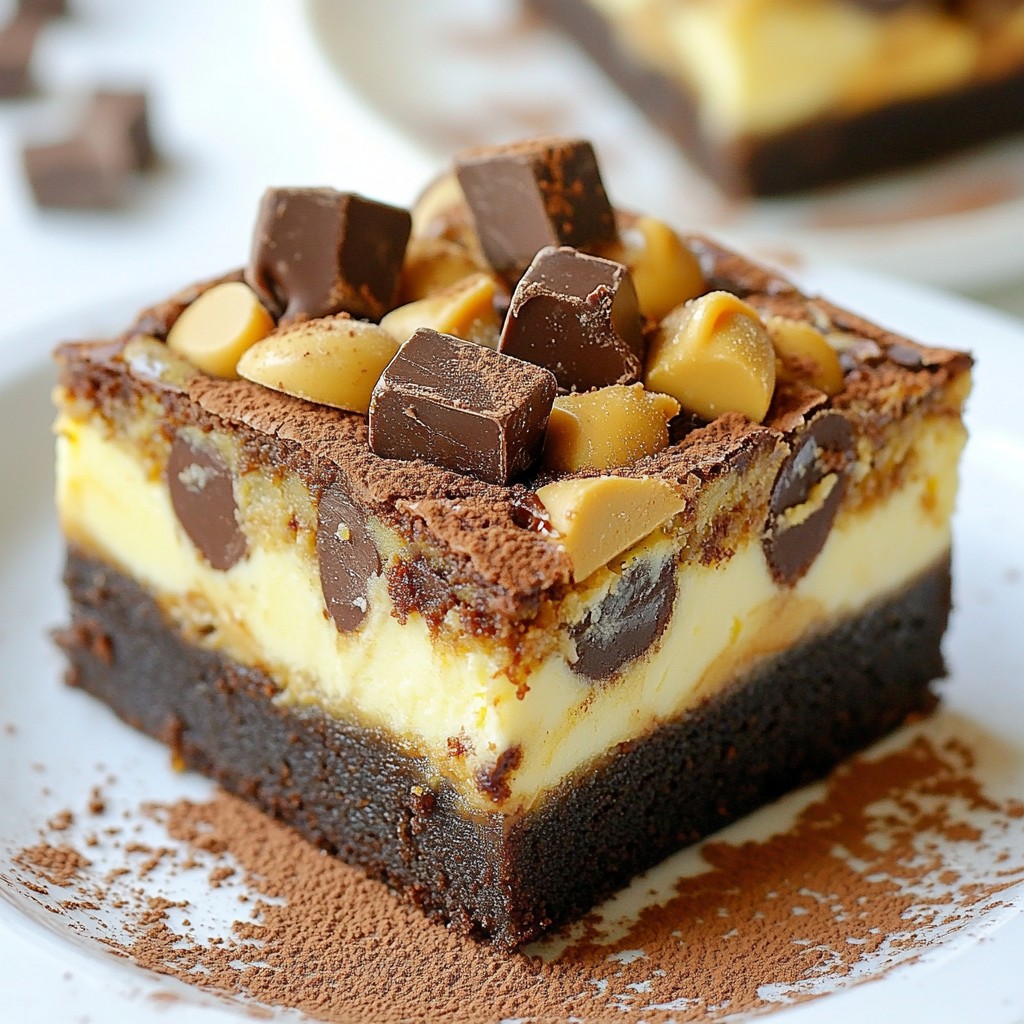
- Decadent Layers: The combination of rich chocolate pudding, creamy cheesecake, and crunchy cookie layers creates an indulgent dessert experience.
- Easy to Prepare: This trifle is simple to make, requiring minimal cooking skills, perfect for both novice and experienced bakers.
- Perfect for Any Occasion: Whether it’s a holiday gathering or a casual dinner, this dessert impresses and satisfies everyone.
- Customizable: You can easily adapt the layers or add different toppings to suit your taste and preferences.
Ingredients
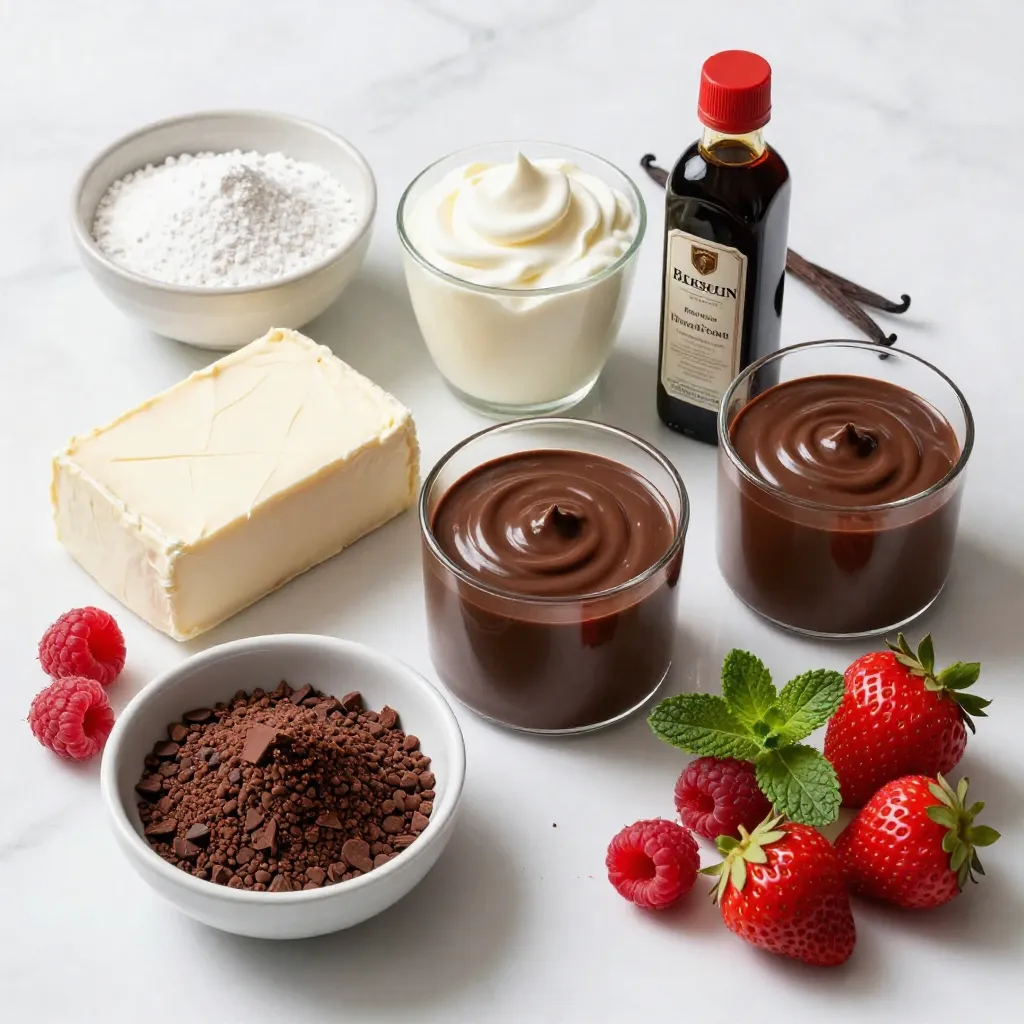
To make a Baileys Chocolate Cheesecake Trifle, gather these ingredients:
– 1 package (8 oz) cream cheese, softened
– 1 cup powdered sugar
– 1 cup heavy cream
– 1 teaspoon vanilla extract
– 1 cup chocolate pudding (store-bought or homemade)
– 1 cup crushed chocolate cookies (like Oreos)
– 1/2 cup grated dark chocolate (for garnish)
– Fresh berries (raspberries or strawberries for garnish)
– Mint leaves (for garnish)
Each ingredient plays a key role. The cream cheese gives the trifle its rich and creamy base. Powdered sugar adds sweetness without graininess. Heavy cream, when whipped, makes it light and fluffy. Vanilla extract enhances the flavor, creating a lovely aroma.
Chocolate pudding adds a smooth, chocolatey layer. Crushed chocolate cookies provide a crunchy texture. Grated dark chocolate adds a touch of elegance and richness. Fresh berries bring color and a burst of freshness. Finally, mint leaves not only look good but also add a fresh taste.
These ingredients come together to create a dessert that is not just tasty but also a feast for the eyes. Each layer invites you to dive in and enjoy.
Step-by-Step Instructions
Preparation Steps
1. Beating the cream cheese and mixing ingredients
Start with one package of softened cream cheese. Place it in a mixing bowl. Beat it until it’s smooth and creamy. Gradually add one cup of powdered sugar. Mix until everything is smooth and well combined.
2. Whipping the heavy cream
In another bowl, pour one cup of heavy cream. Add one teaspoon of vanilla extract. Use a mixer to whip the cream until soft peaks form. This step is key for a light texture.
3. Layering the trifle components
Grab a trifle dish or individual cups. Start with a layer of crushed chocolate cookies at the bottom. Use about one cup of crushed cookies. Next, add a layer of chocolate pudding on top. Spoon on the pudding evenly. Now, add a layer of the cheesecake filling over the pudding. Repeat these layers until you reach the top, finishing with cheesecake.
4. Refrigeration and setting time
Cover the trifle with plastic wrap. Place it in the fridge for at least two hours. This time allows the flavors to blend and the trifle to set. The longer you chill it, the better it tastes!
Tips & Tricks
Tips for Perfecting Your Trifle
Achieving the ideal cheesecake texture
To get a smooth cheesecake filling, beat your cream cheese well. Start with softened cream cheese; this helps it mix better. Add the powdered sugar slowly. Mix until it is creamy and smooth. When you fold in the whipped cream, do it gently. This keeps your filling light and fluffy.
How to make homemade chocolate pudding
Making your own chocolate pudding is easy and tasty. Start by mixing cocoa powder, sugar, cornstarch, and salt in a pot. Then, add milk and cook over medium heat. Stir until it thickens, about 5 to 10 minutes. Remove from heat and let it cool before adding it to the trifle.
Best practices for layering ingredients
When layering, start with crushed cookies at the bottom. This gives a nice base. Next, add a layer of chocolate pudding. Spoon the cheesecake filling on top. Repeat these layers until you reach the top. It looks nice with cheesecake on the top layer. Don’t forget to chill your trifle before serving. This helps all the flavors mix well.
Pro Tips
- Chill Your Ingredients: For a smoother cheesecake filling, make sure your cream cheese and heavy cream are well-chilled before mixing.
- Layering Technique: To avoid sogginess, let the crushed cookies sit for a few minutes before layering them, allowing them to absorb just the right amount of moisture.
- Garnish with Flair: Use a mix of berries for a colorful garnish, and consider drizzling some chocolate sauce for an extra indulgent touch.
- Prep Ahead: This trifle can be assembled a day in advance; just hold off on adding the fresh garnishes until you’re ready to serve for maximum freshness.
Variations
Ingredient Substitutions
You can easily change up this trifle to fit your taste. Here are some fun ideas:
– Alternative cookie options for layers: If you want a twist, try using vanilla wafers or graham crackers. They add a nice crunch and flavor. You can also use gluten-free cookies if needed.
– Using different types of cheesecake flavors: Mix it up by using flavored cream cheese. Try strawberry, raspberry, or even coffee cream cheese. Each option brings a new taste to your trifle.
– Suggested toppings and garnishes: Get creative with your toppings! Use whipped cream, crushed nuts, or even caramel sauce. Fresh fruit like bananas or kiwi can also add color and flavor. Don’t forget a sprinkle of cocoa powder for that extra touch!
These variations let you personalize your Baileys Chocolate Cheesecake Trifle. Enjoy making it your own!
Storage Info
Storing Leftovers
To keep your Baileys chocolate cheesecake trifle fresh, refrigerate it right away. Use an airtight container or cover it tightly with plastic wrap. This helps lock in moisture and flavor.
How long does it last? The trifle stays fresh for about 3 to 4 days when stored properly. If you notice any changes in texture or smell, it’s best to toss it.
If you want to freeze it, you can! Just keep in mind that the texture may change after thawing. To freeze, place the trifle in a freezer-safe container. Leave some space at the top, as it may expand. It can last up to 2 months in the freezer. When ready to eat, transfer it to the fridge to thaw overnight. Enjoy your trifle, even days later!
FAQs
Can I make this trifle ahead of time?
Yes, you can make this trifle a day before. This gives the flavors time to mix. Just cover it well and chill in the fridge. It will taste even better the next day!
What other types of pudding can I use?
You can try vanilla or butterscotch pudding instead of chocolate. These flavors add a nice twist. You can also mix them to create a new taste.
Is there a non-dairy version available?
Yes, use non-dairy cream cheese and coconut cream. These swaps create a tasty dairy-free trifle. Be sure to check the labels for any allergens.
How do I serve the trifle for a party?
Serve in clear glass cups to show off the pretty layers. Add a sprig of mint on each cup. This adds color and freshness for a lovely presentation.
This trifle recipe is simple and fun to make. We covered the key ingredients, like cream cheese and fresh berries, and explored each step in detail. I shared tips to perfect your trifle, from achieving the right texture to layering. You also learned about tasty variations and how to store leftovers.
In the end, this dessert not only looks great but tastes amazing too. So gather your ingredients and enjoy making this delightful trea